Adsb on Android

I was wondering if I could track planes from an android phone. So I started looking for apps which could perform the interception and decoding. I also found out that my phone should support USB OTG to connect the SDR.

How to?
  1. Download the Adsb app from the play store.
  2. Now connect the SDR dongle to your phone with the OTG cable or adapter.
  3. Launch the app and hit the start driver ADSB button, select the app's default driver.                                        
  4. Now wait and watch you will get the data on the main screen.

Note:-
The map view is very lousy so I would advice you to stay away from it.

RFID Hacking without rooting your phone!

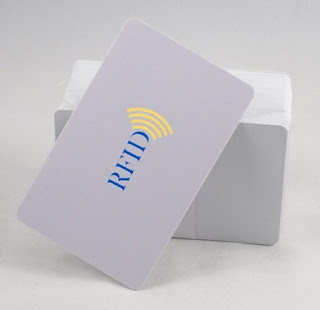
RFID is a technology mostly used in access control cards and credit cards. This technology is based on receiver and transmitter type architecture, in which the transmitter is present inside the card. After the famous NFC hacking the easy way by Eddie Lee a large number of hacker have started their research in this field.So to get you started we decide to show you how to collect data from an RFID card with an ordinary android phone.

How to?
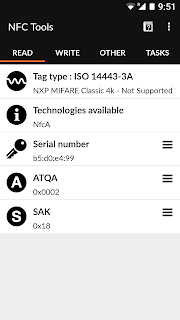
  1. Download and install NFC Tools app from the play store.
  2. Now enable NFC on your android phone. 
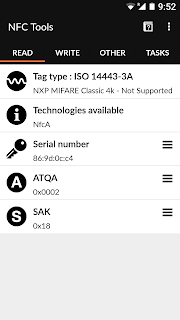
  3. Open the app and take it near to an RFID card and make sure that the read tab is selected.                      
  4. Now you will see that it will show you the data extracted from the card, save it if you want to duplicate the card.

Note:-
You might have to keep your phone exactly on top of your card as the nfc is a really short range technology.

Bypassing stupid app-locks :p

We all have that one friend who keeps app-locks for all his applications instead of encrypting his device. It's like writing the password of your computer on sticky note and pasting it on your monitor. People forget that app-locks are application which you install on your phone. And if we just kill the process then the application will no longer protect your secrets.I tested 2 of the top play store app-locks, I don't indent to harm the reputation of the poor developers. But I would like to convey to them in simple words that "Your application is SHIT!".


How to? 
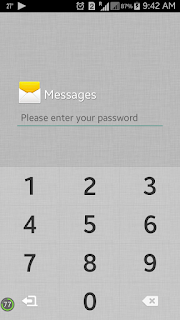
  1. Try opening a app which is protected by the app-lock, it will ask you some stupid PIN which I assume that you won't be knowing.
  2. Go to device settings & open Application Manager.
  3. Now locate the app-lock in the list and select it.
  4. Now click on force stop and open the the app which was locked initially, it will open.
  5. If the first trick doesn't work then go to the app-lock and select clear data. All the apps will be unlocked.
Note:-
Clearing the data will disable the app-lock permanently while force stopping will temporarily disable it.
Encrypting your entire device is the best protection. Another way is to lock the application manager with the app-lock.

Airplane tracking for Linux Penguins

We had shared articles on tracking airplanes with SDR on windows. Here is how you do it on Linux. We will be using Kali Linux in our example but you can do it on any other distribution as well. The number of dependencies required may vary from distribution to distribution.
.

How to?
1) Before we start with the actual script you might need a couple of dependencies which means you might have to do a couple of apt-gets:-  
apt-get install libusb-1.0-0-dev

apt-get install libusb-dev

apt-get install librtlsdr-dev

2) After you are done you might need to get dump1090 from GitHub:-
git clone https://github.com/antirez/dump1090.git

3) Now you will have to cd into the folder and recompile the script:-
cd dump1090

make

4)Now to run it use the command:-
./dump1090 --interactive


Note:-
To explore more options you can the command ./dump1090 --help. The best thing is that the script is open source so you can modify it as per your desires.


Sniffing for GSM packets

GSM network works on a frequency 850-900 MHz. In other words we can sniff the packet transfer between the phone and a GSM tower with an rtl-sdr dongle.

How to?
At first you might have to get the dependences:
  • apt-get –y install git-core autoconf automake libtool g++ python-dev swig libpcap0.8-dev
  • apt-get install gnuradio gnuradio-dev cmake git libboost-all-dev libusb-1.0-0 libusb-1.0-0-dev libfftw3-dev swig python-numpy libpcsclite-dev 
Now you will need to get libosmocore:
  • git clone git://git.osmocom.org/libosmocore.git
  • cd libosmocore
  • autoreconf –i
  • ./configure
  • make
  • make install
  • ldconfig
  • cd ..
Now you will need airprobe:

  • git clone https://github.com/ksnieck/airprobe.git
At the end you might have to install the gsmdecoder:

  • cd airprobe/gsmdecode
  • ./bootstrap 
  • ./configure
  • make
  • cd ..

At last you might have to install the receiver:

  • cd airprobe/gsm-receiver
  • ./bootstrap
  • ./configure
  • make


Now to start the sniffing:
  • python gsm_receive_rtl.py -s 1e6
Now open wireshark and set the interface to lo(loopback). And set the filter to gsmtap so that you only get the gsm packets.


Note:- 
If you don't get packets change the frequency with the gnu radio GUI. If you want to know more you can refer to this article. You might have to add a few more dependencies if you are using other distributions of Linux.


What's new Kali Linux 2.0?

On Wednesday, Offensive security team released their latest version of Kali Linux which is the Kali Linux 2.0. This iteration of Kali Linux was presented at both the cons Def con 23 and Black hats 2015. The OS was available for the masses on August 11th.

Kali Linux 2.0 has 3 different versions for your computer namely mini, light and regular. The difference between them is the size of the ISO the mini is 29 MB, light is 0.8 GB where as the regular one is 3.1 GB.  


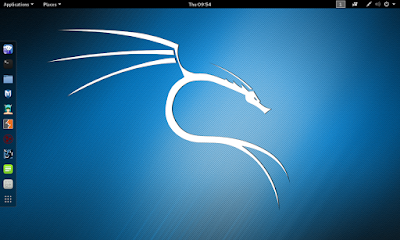
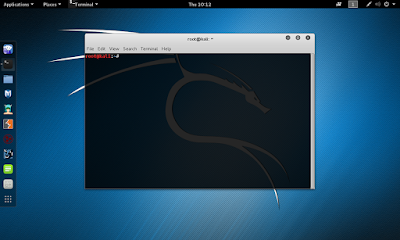
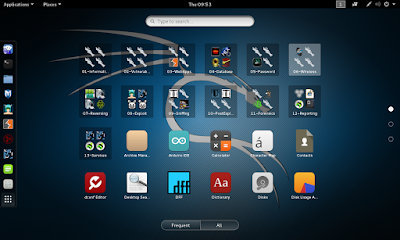
The GUI of the OS is far better than the previous iterations. This GUI makes it a lot easier to use Kali on touch devices like smartphones, tablets and touch computer.The entire OS looks a little like Android + Macintosh. The colors used are bright and make the OS look a little too elegant for a hacking OS. I guess the old Linux like look dies with Kali 1.1. 
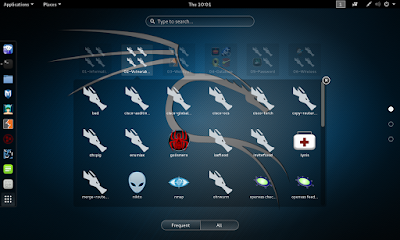
The operating system is based on debian jessie which has the kernel version 4.0. Apart form the latest versions of metasploit 4.1 , hydra 8.1, burp 1.6 and SET Mr.Robot it has a ton of new tools as well. All these tools are classified and categorized and can be accessed by clicking on the show applications icon. GNU radio companion and a few SDR tools are also added which means you can forget the apt-get install kali-linux-sdr command on your newly installed Kali Linux. 
We downloaded the VMware image and found that the system used to lag a little when you run it with high processor demanding applications like Internet download manager which might be due to the highly demanding GUI.


The release post and the download link are below:-

  1. Release note 
  2. Download page


Tracking satellites with SDR

 To track satellites you will need the following software and the rtl-sdr dongle or similar dongles:-
After the installation is done you might need to edit a few things. The editing procedure is available at the HamRadioSet's YouTube channel. 
  
How to?

  1. open orbitron and SDR# with administrator privileges.
  2. Now from the list of satellites select the satellite you want to track. For our example we are selecting ISS.
  3. Now in orbitron go to rotor/radio menu and set the Dnlink to FM and driver to MYDDE and hit the connect icon. 
  4. A MYDDE client instance will start. Now go to sdr# and scroll to satellite tracking plugin and select the satellite tracking software to orbitron. 
  5. Now click connect to pipe the inputs to sdr#.


Note:-
Receiving is  good and is under legal limits. Transmitting and piggybacking is illegal.

Sniffing wireless networks without rooting your phone..

Sniffing from an android phone can be an great advantage when it comes to testing corporate security as it is easy to smuggle a phone into a building instead of a laptop or a computer.The main problem with wireless sniffing on android phones is that you might need root access to do so. As rooting voids your warranty, most users don't prefer to root their phones. So we started searching for alternative software that can do the task without root access. The 2 most effective tools from the lot are tpacketCapture and Wi-Fi PCAP Capture.

Wi-Fi PCAP Capture is based on kismet and its usage is available at https://www.kismetwireless.net/android-pcap/ where as tpacketCapture is developed by taosoftware co,ltd. 
Wi-Fi PCAP Capture is open sourced where as tpacketCapture is copyright protected. 
Wi-Fi PCAP Capture requires an external wireless card which will not work if your phone doesn't have OTG compatibility where as tpacketCapture uses the inbuilt wireless card of your phone which means that tpacketCapture will work on eventually any out of the box phone.
Both these apps save the captured data in the form of .pcap file which can be then analyzed in Wireshark. The one thing that both these apps lack was the ability to analyze the captured packets. over all these apps performed well in the tests but we did notice that Wi-Fi PCAP only worked with particularity phones and external wireless card as stated on their official website

Note:-
You will have to choose a location to save the captured files or else they will be saved to the default location which might be a problem if your phone memory is really low.

Using mdk3 to kill wireless networks

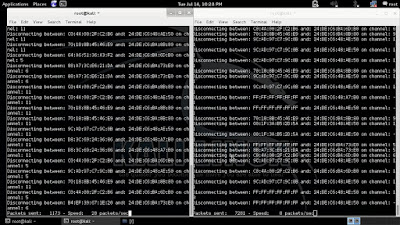
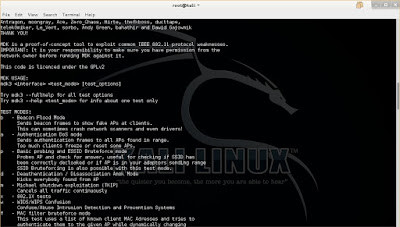
mdk3 is a network stress testing tool. It is basically a proof of concept tool which is can be used for exploitation of the weaknesses of  IEEE 802.11 protocol. It is like the LOIC for wireless networks.

How to?

  1. open a new terminal window and type airmon-ng start wlan0 (To start the monitoring mode on your wireless card.).
  2. Now type mdk3 mon0 d -c[channels on which the router is transmitting] and hit enter.
  3. If you have another USB wireless card you can do the same for it as well, it will be like attempting a DDOS on wireless networks.

Note:-
For more options type mdk3 --fullhelp and hit enter.

Creating graphs with Casefile

CaseFile is a compact version of Maltego. It is used to gather and sort information in the form of graphs which is helpful to cops and investigators for analysis of raw information. 


How to?

  1. Open a new terminal window & type casefile and hit enter.
  2. Now click on menu button and select new.
  3. From the pallet drag and drop entities.There is a wide range of entity categories to choose from.
  4. To create a relationship among the entities click just out side the boarder of the entity and extend the arrow to other entities which you want to relate to. For two way entity relationship do the process twice.
  5. Save the graph for future use by clicking on save from the menu.

Note:-
The graph shown as example is imaginary.

Comparative study of rtl1090 and adsb#

The two most used ADSB decoders are adsb# and rtl1090. These decoders can be widely used with interface software like adsbscope and virtual radar. And both these decoders work with the nooelec dongle. 

How they look?
The user interface of rtl1090 looks more like some tech from the spy movies, where as adsb# looks more like any other software that runs on windows.

What's under the skin?
rtl1090 decodes the data in binary, where as the adsb# decodes the data in normal form which is decimal.

What ports are used?
adsb# uses port 47806, while rtl1090 uses port 31001 for the data transfer.


How did they perform in tests conducted at HCAK_Labs?
We tried out both these decoders with a bunch of different interface software on a intel i3-3120M with 8 GB RAM. In majority of the tests rtl1090 was analyzed with packet drop issues while adsb# worked flawlessly in most test conditions but it didn't really work well with virtual radar.


Virtual Radar: Sharing the an SDR data online

As we discussed in the article  tracking airplanes with SDR we found another cool software which allows you to share the captured data online. Virtual Radar is a hosting interface software i.e it allows us to host the data online. For example we will be using rtl1090 instead of adsb#. The only difference between them is that rtl1090 decodes the data in the form of binary. 

How to?
  1. After installing the software, run rtl1090 first with administrator privilege.
  2. Now leave rtl1090 running then run virtual radar.
  3. Now click on tools and then options. After that click on receivers set the format to AVR or Beast RAW feed and the port number to 31001 and click OK.( click on test connection if you want to make sure that everything is working properly)
  4. Now click on the url which appears above feed status.
  5. Now to find out more details about the plane select it by clicking on it. 

  6. you can used http://127.0.0.1/VirtualRadar/mobile.html,
http://127.0.0.1/VirtualRadar/desktop.html and http://127.0.0.1/VirtualRadar/settings.html as per your requirement.
Note:-
If the software doesn't work you will need to download a few files from the following link.